
Services
About
ServiceArea
Resources
Contact
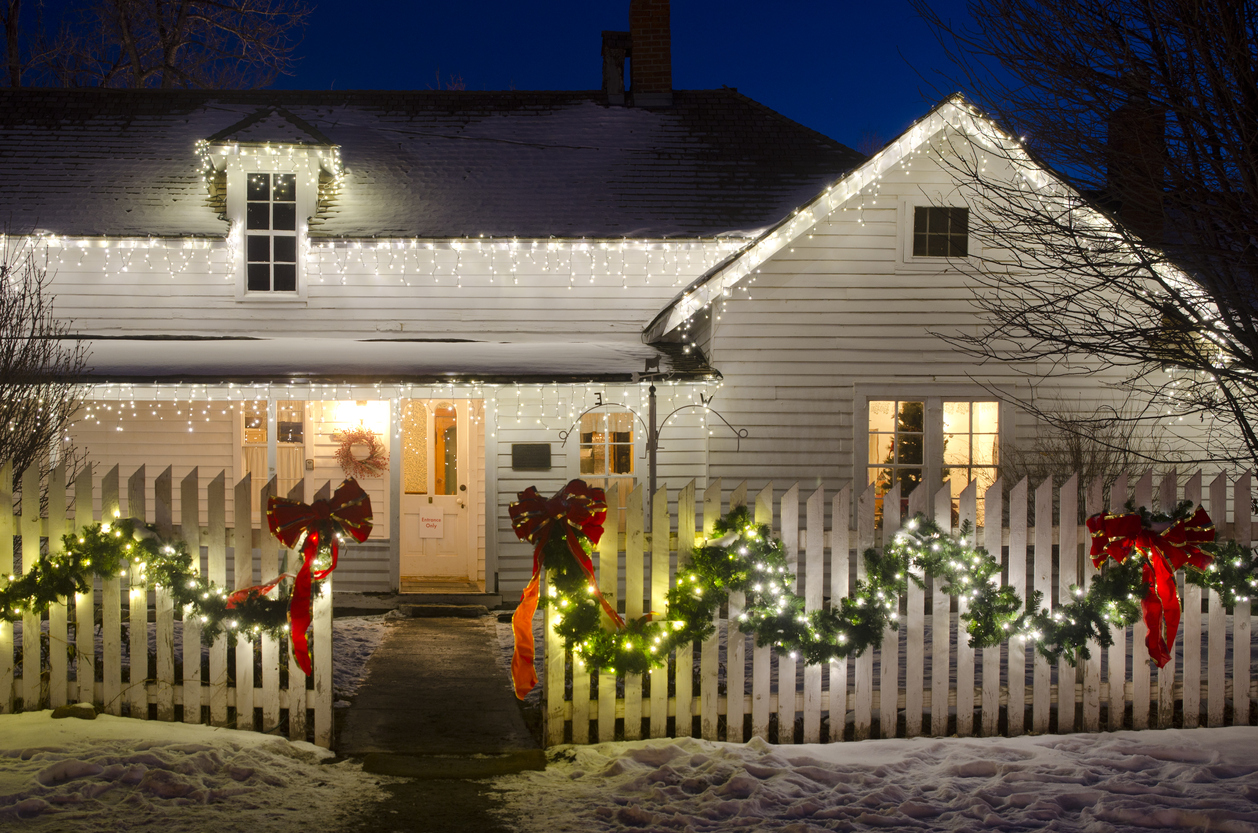
With the holiday season upon us, one of the best ways to spread the festive cheer is by decking out your house with bright rooftop Christmas lights. While the end product is a cheerful and appealing set of lights, the process can often be a bit of a hassle. That’s why we’ve put together 5 tips for installing rooftop Christmas lights, so you can get in the holiday spirit with no trouble at all!
Before buying your lights, make sure to measure the distances along your roof to know how many strands you’ll need. You don’t want to end up short of lights or spending unnecessary money buying too many, so measuring is key. Also, measure the distance from the roof to the power source to make sure your extension cords are the sufficient length as well.
Clips come in many varieties and can work for any way in which you decide to install the lights. From gutter clips to clips for brick surfaces, this method is easy and more efficient than drilling or stapling.
Before putting up the lights, lay them out on the ground and test them out. It’s much easier to replace bulbs and fuses on the ground then it is once they’re on the roof. Also, check to make sure that the cords aren’t damaged in any way. If so, that’s a safety hazard and you should avoid using that string of lights.
Use a timer for turning on and off your lights. This way, you won’t have to worry about turning them off at the end of the night and you also won’t have to go outside in the cold to do so.
Always remember that safety should come first! Have a second person available when using a ladder and ensure your ladder is placed on a secure, non-slippery surface. Also, plan to put up the lights on a day where the weather isn’t too cold or snowy.